By: Denny Martin and Johari Gregorio, Technical Support Specialists at Nidec Global Appliance, where both work with Embraco brand portfolio of compressors and condensing units for the North American market.
Maintenance in condensing units involves many different aspects, because you have a series of components to check and clean. Every technician will have its working methods in the field. But some tips and recommendations are always welcome. So, here are some helpful guidelines for any technician working with condensing units.
1 – Preventive maintenance
Whenever possible, inform your customers about the fact that well-maintained units tend to consume less energy and operate more efficiently, and that preventive maintenance reduces the risk of component and equipment failure. A good timeframe for preventive maintenance is twice a year, but it is also important to check with the manufacturer of the equipment for maintenance interval recommendations.
Lack of preventive maintenance and cleaning can cause the compressor to overheat, and it gets to a point where it demands so much electric current that the overload protector (OVL) enters into action, turning off the compressor, before it reaches the target temperature, in order to protect the motor from burning.
If this starts to happen frequently, the first parts to stop working are the electrical components. That is because these parts have a lifespan based on the quantity of cycles they will make. If they enter into cycles every ten minutes, when it should be every four hours, they will soon start failing until they burn. Most problems in the field are due to electrical components failures and not the compressor itself.
But, with time, if no maintenance or cleaning is done and there are too many on-off cycles, the compressor will start failing as well, because the most critical phase for a compressor is the start. That is because every time it turns on, a vibration is generated in the compressor, which puts stress on the suspension system. Apart from that, the bearings have no lubrication, and each starting cycle creates friction. If all this happens repeatedly, more times a day than it should be, can lead to mechanical failure.
When doing a preventive maintenance:
- Carefully check the fastening of all the components of the condensing unit. It can prevent components loosening or even loosening of motherboard devices and greatly reduce the noise of the entire system.
- To remove impurities from the condenser, use water, a cleaning cloth or compressed air. Chemicals should never be used, especially those that contain chlorine.
- Check the fan motor for dirt and use a cleaning cloth or compressed air to remove dust or any other type of material.
2 – How to determine when there may be air in the condenser
High head pressure in an otherwise normally functioning system can indicate air or non condensables in a system. To check for a clogged drier, take the pressure drop across the drier, (should be no more than 2 PSIG) if the drier has pressure ports. Also use a 5 second acid test kit to determine if there is excess air/moisture/acid in a system. If any of those is found, the refrigerant charge will have to be removed and recharged after a new drier and a good vacuum.
3 – Determining how clean the condenser really is
When you have a condenser that is dirty, the heat exchange with the ambient can be compromised up to the point that the refrigerant gas does not turn into liquid (superheat). Normally, you will realize the condenser is not clean by the symptoms presented by the compressor or the application, such as loss of performance and lack of subcooling.
One symptom is when the application’s pressostat (HPCO) enters into action, turning off the compressor before reaching set point temperature. Another similar symptom is if the compressor’s overload protector actuates, also turning off the compressor before reaching set point temperature. So, the compressor alternates repeated on and off cycles without getting the application to the desired temperature.
So, if elevated pressures are observed, go ahead and clean the condenser coil with water and recheck (after checking the evaporator filter first, and unless the coil is obviously impacted with dirt and debris). In this case a coil cleaning may have to be sold to the customer first. If the water rinsing cures the problem, go ahead and recommend a chemical cleaning. After cleaning coils, superheat and subcooling can be used to be sure the coils are clean and running efficiently. Also, you can check if the pull down and defrost routine are happening according to the equipment manufacturer’s specifications.
4 – Calculating and interpreting subcooling
Subcooling measures the temperature difference between the condensing temperature at saturated conditions (the temperature of the gas corresponding to the condensing pressure) and the temperature of the liquid line/refrigerant coming out of the condenser.
For a given condensing pressure, in order to determine the corresponding saturation temperature, you can make use of a PT chart (specific for each refrigerant).
Compare the two temperatures and that’s the system’s subcooling. What the numbers will tell you: 1) too little subcooling, 5 F degrees or lower, indicates an undercharge or other problems; 2) too much subcooling, 10 F degrees or more, might indicate an overcharge or something causing too much refrigerant to back up in the condenser coil.
Liquid subcooling is necessary to get liquid refrigerant at the expansion device. With insufficient subcooling there is a risk for the gas to flash before entering the expansion device and cause a drop of the cooling effect and efficiency.
The friction pressure drops caused by accessories – such as solenoid valves and filter driers – should be not greater than that corresponding to about a 1 to 2 F change in saturation temperature.
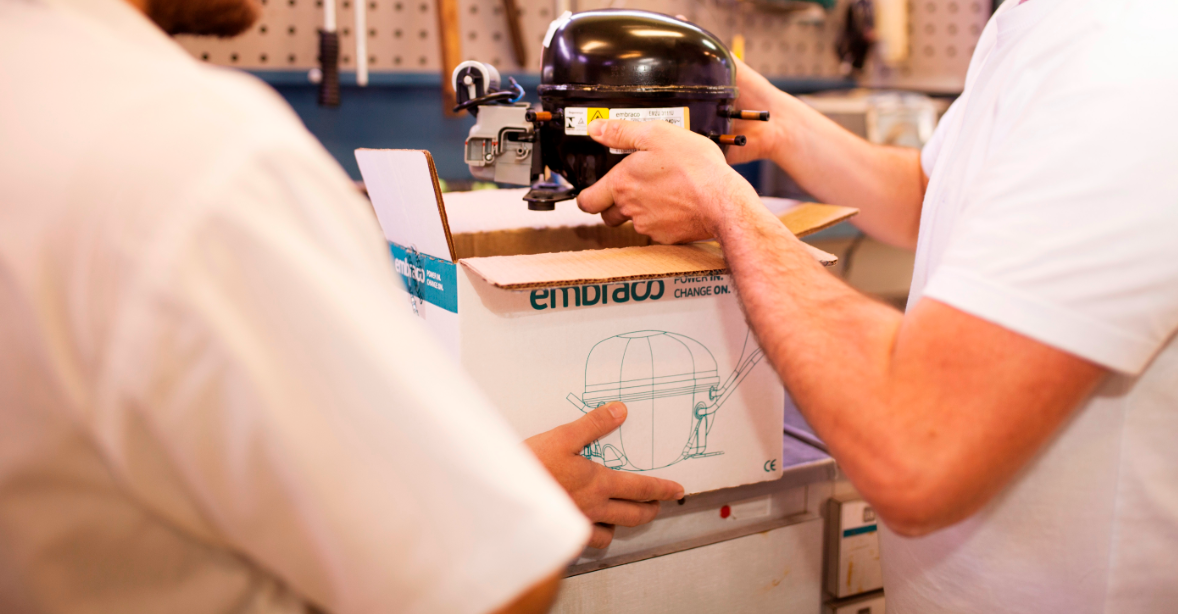
5 – Changing only the compressor or the whole unit
For most fractional horsepower compressors there can be a tendency to just replace the compressor, rarely the condensing unit, mostly due to cost.But you have to consider that changing the compressor gets you a new compressor only, leaving the whole high side of the system (condenser coil, fan motor, valves etc) vulnerable to repeat failures and service calls. So, the best efficiency will be obtained replacing the whole condensing unit.
6 – How to determine if it is a compressor failure or just a relay or capacitor issue
Refrigeration compressors typically are highly reliable. It’s very common for a component or lack of maintenance to stress the compressor, possibly causing it to overheat and either trip the overload or fail.
It is a good idea to test the winding resistance and use a megohmmeter on the compressor, if you have one available, to be sure the compressor is not damaged. A generic start component kit or a compressor analyzer can be used to be sure the components are at fault.
If an overheated compressor is caught early, it will probably be alright to only change the faulty electricals or correct a refrigeration circuit issue. If the unit appears to have run hot for a long period of time, it may be best to replace the compressor after flushing the system and replacing the cap tube and drier to get the longest-lasting repair possible.