You need to know how to replace these electronic components.
Increasingly present in the market, Embraco Fullmotion variable speed compressors use a frequency inverter. This electronic component may have problems, and in that case you need to know what to do to replace it. In this regard, we show the procedures recommended by Embraco.
Before you begin
• Verify that the system is not powered;
• Disconnect the system from the outlet before performing any checks or servicing;
• Never attempt to energize the Embraco Fullmotion compressor with direct line voltage, without going through the inverter (“direct start”). This will permanently damage it;
• To replace an inverter, it is necessary to know two parameters of the inverter: voltage and control signal. See below how to do this check.

Increasingly present in the market, Embraco Fullmotion variable speed compressors use a frequency inverter. This electronic component may have problems, and in that case you need to know what to do to replace it. In this regard, we show the procedures recommended by Embraco.
Voltage
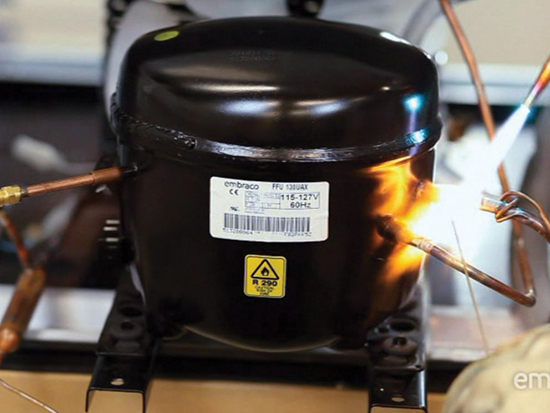
Check the voltage of the original inverter installed in the system. The voltage can be checked on the label located on the inverter as shown on the left.
Of course, the inverter must be replaced by another one with the same voltage.

The inverter must be replaced by another inverter of the same voltage.
The inverter to be installed must contain the same control signal and inlet voltage features as the inverter originally used in the system.
Control signal
Check which type of control signal is used on the original inverter. For this, see what the Embraco code is of the inverter located on the label (as shown on the second label on the left).
With this number, refer to the table in the site of the Club to know what the control signal is: Drop-in or Frequency.
The inverter to be installed must have the same characteristics of input voltage and control signal as the inverter originally used in the system. That is what will ensure its proper functioning.
As shown in the next part of the News section, four “universal” inverter models have been developed to replace the entire range of models available on the market for use in domestic refrigeration.
Having input voltage information and the control signal, it is easy to know which code of the replacement inverter that should be purchased for the exchange. Just look at the table at the top of this page.
Removing the damaged inverter
To remove the original inverter from the system, the procedures are as follows:
1. Remove the inverter cover to gain access to electrical connections;
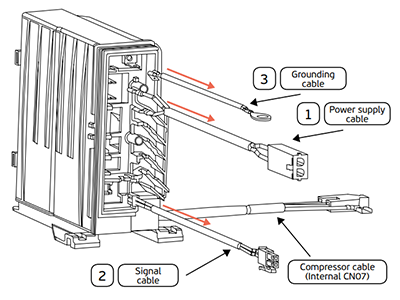
2. Remove the power harness (1), (2) signal harness and grounding harness (3), according to what is shown in the image below;
3. Disconnect the inverter from the compressor, as shown in the image below;
4. Unscrew and remove the inverter from the refrigeration system.

Installing the new inverter
1. Secure the inverter to the system using the attachment points;
Notes. If the original inverter is mounted directly on the compressor, the new inverter must be accommodated as best as possible in the refrigerator to ensure that it does not move during normal system operation.

2. Remove the inverter cover to gain access to electrical connections;
3. Connect the power harness (1), signal harness (2) and grounding harness (3);

4. Route the cables properly into the inverter housing and mount the side cover to close the connections;
5. Screw on the cover.
See the manual on how to properly perform an inverter replacement. Download it now!